Vintage Tree Vector Christmas Wood Sign Tutorial
StudioSVG Team · October 31, 2026 · 6 min read
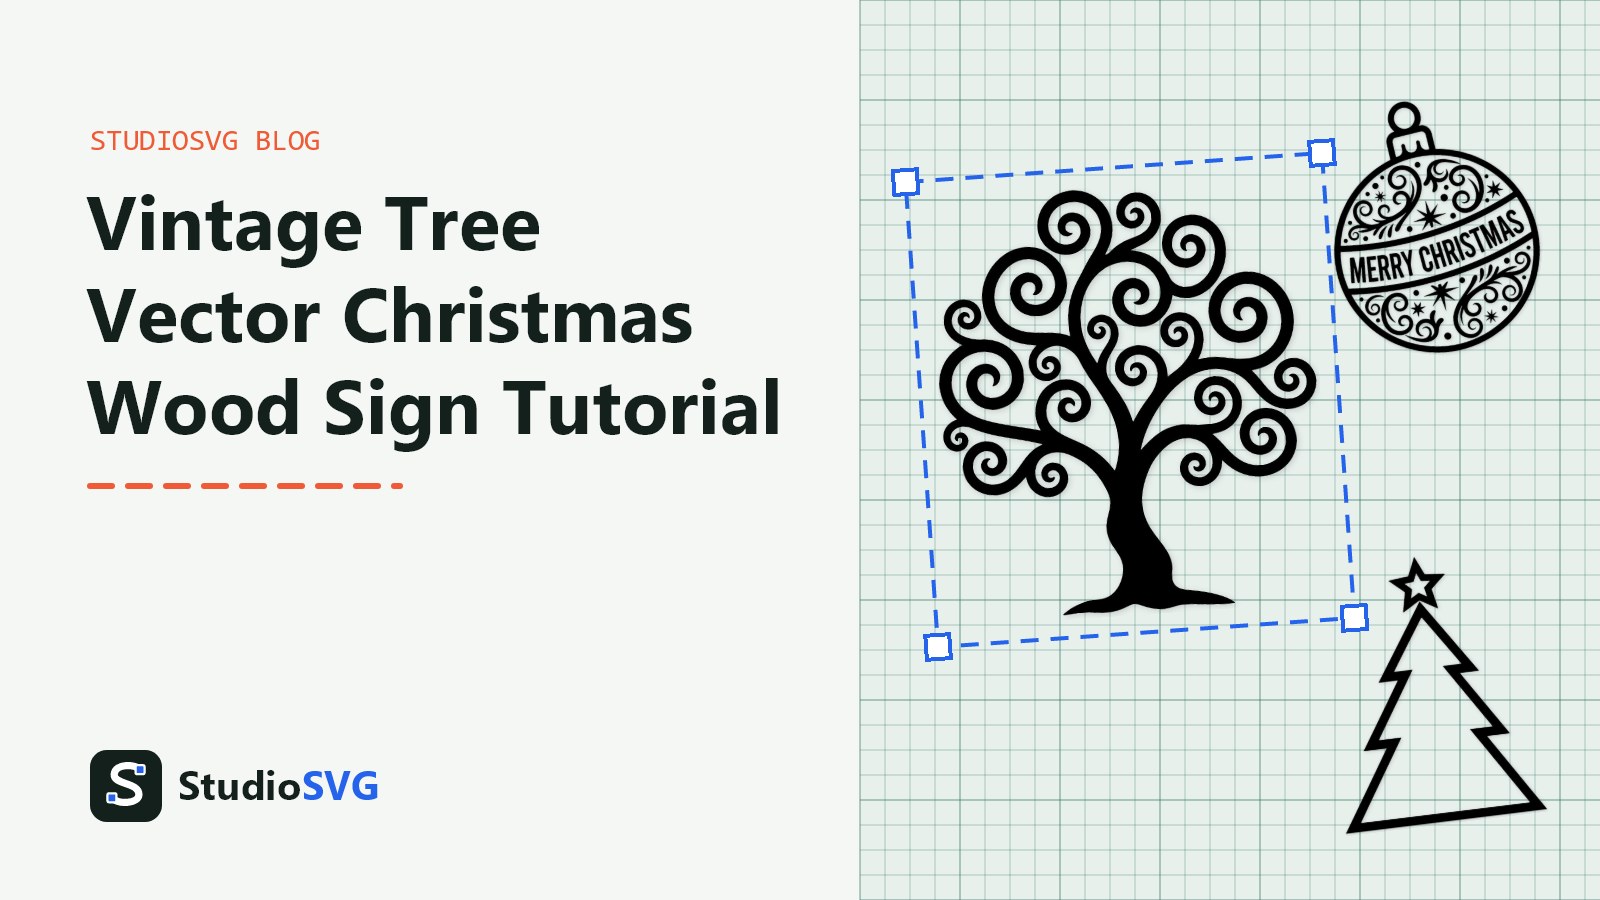
If you are looking for a project that brings natural warmth into your living room this December, following a vintage tree vector christmas wood sign tutorial is one of the best ways to combine digital cutting technology with classic rustic charm. There is something deeply satisfying about making holiday decor with your own two hands, especially when you can pull off that high-end farmhouse aesthetic right at home. Whether you use a Cricut, a Silhouette machine, or a laser cutter, creating a painted wood sign allows you to customize colors and sizing to fit your exact mantel or entryway space.
We will walk through the entire process from start to finish. You will learn how to properly prep your wooden board, scale your cut files in design software, achieve crisp paint lines without bleeding, and reveal a professional-grade holiday decoration that you will be proud to display year after year.
Gathering Supplies for Your Holiday Wood Sign
Before you open your design software, take a few minutes to gather your materials. Having everything ready at your craft table prevents frustrating interruptions mid-project.
- Solid wood board or pre-made blank sign (pine or birch plywood works wonderfully)
- Fine-grit sandpaper (around 120-grit and 220-grit)
- Wood stain and a clean rag or foam brush
- Interior latex paint or acrylic craft paint for the design
- Transfer tape and a scraper tool
- Adhesive stencil vinyl or standard permanent vinyl (stencil vinyl makes paint blocking easier)
- Your digital cut files
For this project, you want vector files with clean, bold lines that translate well to physical mediums. The Vintage Tree Svg Png: Elegant Design For Cricut Projects provides that exact traditional look with crisp nodes that make weeding effortless. If you plan to add complementary accents or holiday motifs around your workshop, you can also explore the full collection under Christmas & Winter for more coordinating ideas.
Preparing Your Wooden Board for Stenciling
The success of any painted wood sign relies heavily on proper preparation of the wooden surface. Wood is a natural, porous material, which means paint loves to bleed into the grain if you do not seal the edges properly.
- Sand your wooden board thoroughly with 120-grit sandpaper to remove rough spots, then finish with 220-grit for a smooth surface.
- Wipe away all sawdust using a tack cloth or a slightly damp microfibre towel. Allow the board to dry completely.
- Apply your chosen wood stain following the grain. Let it penetrate for a few minutes, then wipe off the excess with a clean rag. Let the stain dry completely according to the manufacturer instructions, usually at least four to eight hours.
- Measure your board dimensions carefully so you know the exact printable area inside any frame or border you might be using.
If you ever need to convert an extra bitmap image or a hand-drawn sketch into a cut-ready file for a project like this, remember you can use the Image to SVG converter to turn flat graphics into clean vector paths instantly.
Cutting and Weeding the Vinyl Stencil
Once your wood is prepped and stained, it is time to move over to your cutting machine software. Import your design and prepare it for cutting.
- Open your cutting software (such as Cricut Design Space or Silhouette Studio) and upload your design file.
- Measure your stained wood board and scale the design so it leaves a nice, even border around the edges. For instance, if your board is twelve by twenty inches, you might size your main tree graphic to ten inches wide.
- Place your stencil vinyl or permanent vinyl onto your machine mat, with the vinyl side facing up. Load the mat into your machine.
- Select your material setting. Stencil vinyl typically requires slightly less pressure than permanent outdoor vinyl, but always run a small test cut if you are trying a new brand.
- Unload the mat and gently peel the vinyl away from the carrier sheet at a sharp angle to avoid tearing.
- Weed away the interior negative spaces where you want the paint to reach the wood. Take your time around the fine branches of the tree design to make sure small interior pieces stay put if you are using a positive stencil method.
If you want to incorporate additional winter motifs alongside your main tree, you can easily pair it with elements from the Christmas Tree Icon Svg Png: Cut Ready Digital Design For Cricut Silhouette or even add festive hanging elements using the Ornament Design Svg Png: Bold Clean Cut File For Christmas Decor.
Applying the Stencil and Painting the Wood
This is where the magic happens, but it is also the step that requires the most patience. Getting sharp, clean paint lines on wood prevents the dreaded fuzzy edges.
- Cut a piece of transfer tape slightly larger than your weeded vinyl design. Apply it smoothly over the vinyl using your scraper tool.
- Carefully peel the paper backing away from the vinyl, ensuring all parts of the design stick to the transfer tape.
- Position your stencil onto your stained wood board. Once you press it down, it is very difficult to reposition, so hover it over the board first to check your alignment.
- Burnish the vinyl firmly onto the wood using your scraper tool, paying extra attention to the edges of the cut lines.
- Slowly peel back the transfer tape at a sharp 180-degree angle, leaving the vinyl stencil flat on the wood. Run your finger along all interior edges of the design to seal the vinyl down tight.
- Here is the secret professional trick: paint over your stencil using the same color as your background stain first. Let it dry completely. This seals any tiny gaps in the wood grain with clear or matching stain color. When you apply your final top paint color, any seepage under the vinyl will match the background, leaving your crisp white or metallic paint lines razor-sharp.
- Apply two light coats of your top paint color using a dense foam pouncer or a stencil brush in a straight up-and-down dabbing motion. Avoid brushing sideways, as this forces paint under the stencil edges.
- While the final coat of paint is still slightly tacky, gently peel away the vinyl stencil at an angle. Do not wait for it to dry completely, or it might pull up dried flakes of paint.
- Allow the sign to cure fully for twenty-four hours before handling or hanging.
Frequently asked questions
Can I use regular permanent vinyl as a stencil?
Yes, standard permanent adhesive vinyl works wonderfully as a stencil on wood as long as you burnish the edges down firmly. Stencil vinyl is formulated with a slightly lower tack adhesive so it peels off easier without leaving sticky residue, but permanent vinyl is a great budget-friendly alternative if that is what you have on hand.
What type of paint works best on stained wood?
Acrylic craft paint and interior latex wall paint both yield fantastic results. Avoid water-thin watercolor or runny inks, as they will bleed right under the wood grain. A slightly thicker chalk-style paint or acrylic paint applied with a dry-brush or pouncer technique gives the best coverage.
How do I prevent paint bleed under the stencil?
The two golden rules for preventing paint bleed are sealing your stencil edges and using a dry application method. Sealing the stencil with a coat of clear medium or matching background paint first blocks any gaps. Furthermore, always dab your brush vertically rather than brushing horizontally.
Do I need to seal the finished sign with a topcoat?
If your sign is going to live indoors away from moisture, a topcoat is optional. However, applying a clear matte polyurethane or a light wax sealer protects the painted surface from dust, UV fading, and accidental scuffs over the years.
Final Thoughts on Creating Your Rustic Holiday Decor
Making your own holiday decorations brings a wonderful personal touch into your home that store-bought items simply cannot replicate. By combining quality cut files with careful wood preparation and the clear-coat sealing trick, you can achieve professional results on your very first try. Take your time with the weeding and painting steps, and enjoy the process of bringing your vintage tree vector christmas wood sign tutorial masterpiece to life.