How to Weed Intricate Vinyl Designs Without Ripping
StudioSVG Team · November 2, 2026 · 5 min read
Why Intricate Vinyl Designs Give Us Trouble
There is a specific kind of heartbreak that comes from pulling up the corner of a gorgeous cut file only to watch a tiny, delicate serif or a wispy tendril lift right off the backing paper along with the negative space. Learning how to weed intricate vinyl designs is a rite of passage for every crafter using a digital cutting machine. When you are working with fine lines, sharp angles, and dense details, standard habits just will not cut it.
Intricate designs push your equipment and materials to their absolute limits. Whether you are prepping heat transfer vinyl for a custom shirt or adhesive vinyl for a delicate mug, the margin for error is razor-thin. But you do not have to abandon detailed patterns out of frustration. With a few tweaks to your setup and technique, you can tackle even the most delicate cut files without losing your sanity or your vinyl.
How to Master Blade Depth and Pressure Settings
The foundation of easy weeding starts long before you pick up your hook. It starts on your machine's material settings screen. When cuts fail to release cleanly, the culprit is almost always improper blade depth or insufficient cutting pressure.
If your blade is set too deep, it scores through the backing paper, making every tiny piece stick to the carrier sheet instead of the waste material. If it is too shallow, the vinyl fibers stay connected at the corners, creating microscopic tethers that pull up your design.
Always run a test cut before committing to a full project, especially when working with detailed art like the Dreamcatcher Svg Png: Cut Ready Digital Design For Cricut Silhouette. A simple small square with a triangle inside cut into a scrap corner of your material will tell you everything you need to know about your current blade health and pressure.
Essential Tools and Surface Prep for Success
You cannot build a sturdy house with faulty tools, and you cannot weed a detailed cut file with a dull hook. Investing in the right physical gear changes the entire experience.
- Fine-point weeding hook: Essential for piercing and lifting tiny interior negative pieces.
- Straight pin or dental pick: Offers more precision than a standard hook for stubborn corners.
- Tweezers with angled tips: Great for grabbing lifted vinyl ends and pulling them away smoothly.
- Bright LED task light or light pad: Illuminates cut lines so you can see where the vinyl ends and the backing begins.
Surface prep matters just as much. Tape your vinyl down to your work table using painter's tape if it tends to curl. If you are converting your own source material into a cut-ready file using the Image to SVG converter, clean lines in the digital phase will directly translate to cleaner physical weeding later.
How to Weed Intricate Vinyl Designs Step by Step
When you are ready to tackle a complex piece such as the Mystical Tree Svg Png: Bold Outline Design For Cricut, rushing is your enemy. Follow this methodical workflow to keep your project intact.
- Trim away excess blank vinyl material around your cut design, leaving a small margin to create a clean border.
- Secure your weeded sheet to a flat, hard surface using low-tack tape so it will not slide around while you pull.
- Find a corner where the cut lines are clear and gently lift the outer border of the negative space at a sharp, acute angle rather than pulling straight up.
- Pull slowly and steadily. If a tiny piece of the design starts to lift with the waste, press it back down immediately with your finger or scraper tool, then use your pick to hold it in place while continuing to peel.
- Work from the inside out, tackling stubborn interior pieces last when the surrounding tension is gone.
For crafters exploring more delicate motifs, browsing through the Fantasy & Magic collection offers plenty of projects that test these exact skills.
Smart Design Choices for Delicate Projects
Sometimes the easiest way to improve your weeding experience is to look at the digital file itself. Not all cut files are optimized for real-world materials. If a design has overlapping cut lines or micro-fragments that serve no structural purpose, it will cause endless grief on the cutting mat.
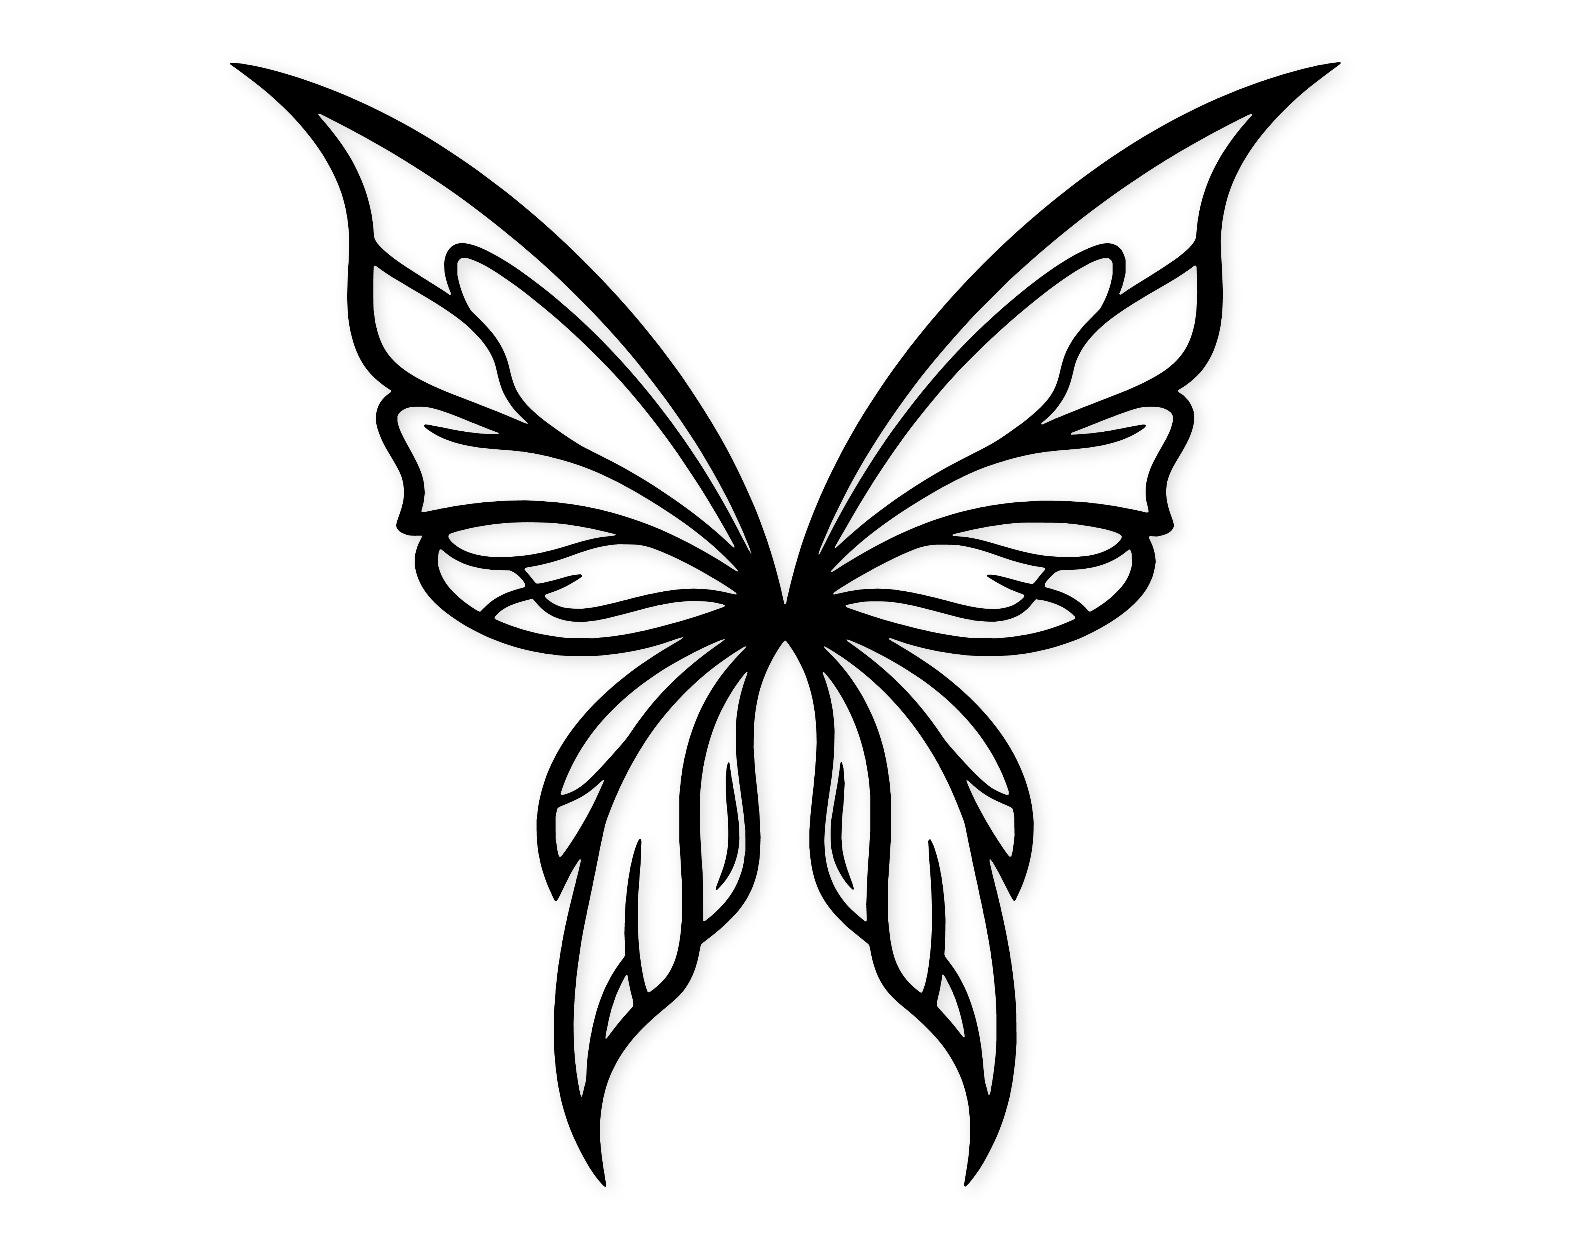
When working with ethereal patterns like the Fairy Wing Outline Svg Png: Minimalist Design For Crafts, keeping your lines bold enough to anchor to the backing paper makes all the difference. If you ever need guidance on file formats before you send them to your software, take a look at SVG vs PNG vs DXF vs EPS: Which Cut File Do You Need? to ensure you are using the best file type for your specific hardware.
Frequently Asked Questions
Why does my vinyl rip when I try to weed it?
Ripping usually happens because your blade is dull, your cutting pressure is too high, or you are pulling the vinyl at a wide, flat angle instead of a sharp, low angle. Always peel away from the design rather than pulling upward.
Should I use a weed box around my intricate designs?
Yes. Adding a simple rectangle border around your cut file in your design software makes peeling the outer waste layer much easier because it gives you a single, uniform edge to grab instead of a jagged perimeter.
How do I fix a tiny piece that lifted by mistake?
If a tiny element pops up on your weeding tool, do not panic. Use a pair of sharp tweezers to carefully reposition the piece back onto the backing paper, then gently press it down with your fingernail or the flat edge of a scraper before continuing.
Does the type of vinyl brand affect weeding intricacy?
Absolutely. Thicker, high-quality adhesive and heat transfer vinyls often have better carrier sheets and more stable face films, making them much more forgiving for intricate cut files than cheap budget rolls.
Conclusion
Mastering how to weed intricate vinyl designs is all about patience, proper blade calibration, and respecting the limits of your materials. By slowing down, using a sharp weeding tool, and picking well-designed cut files, you can turn a frustrating chore into a satisfying part of your crafting routine. Take your time, trust your test cuts, and enjoy bringing those delicate details to life.